
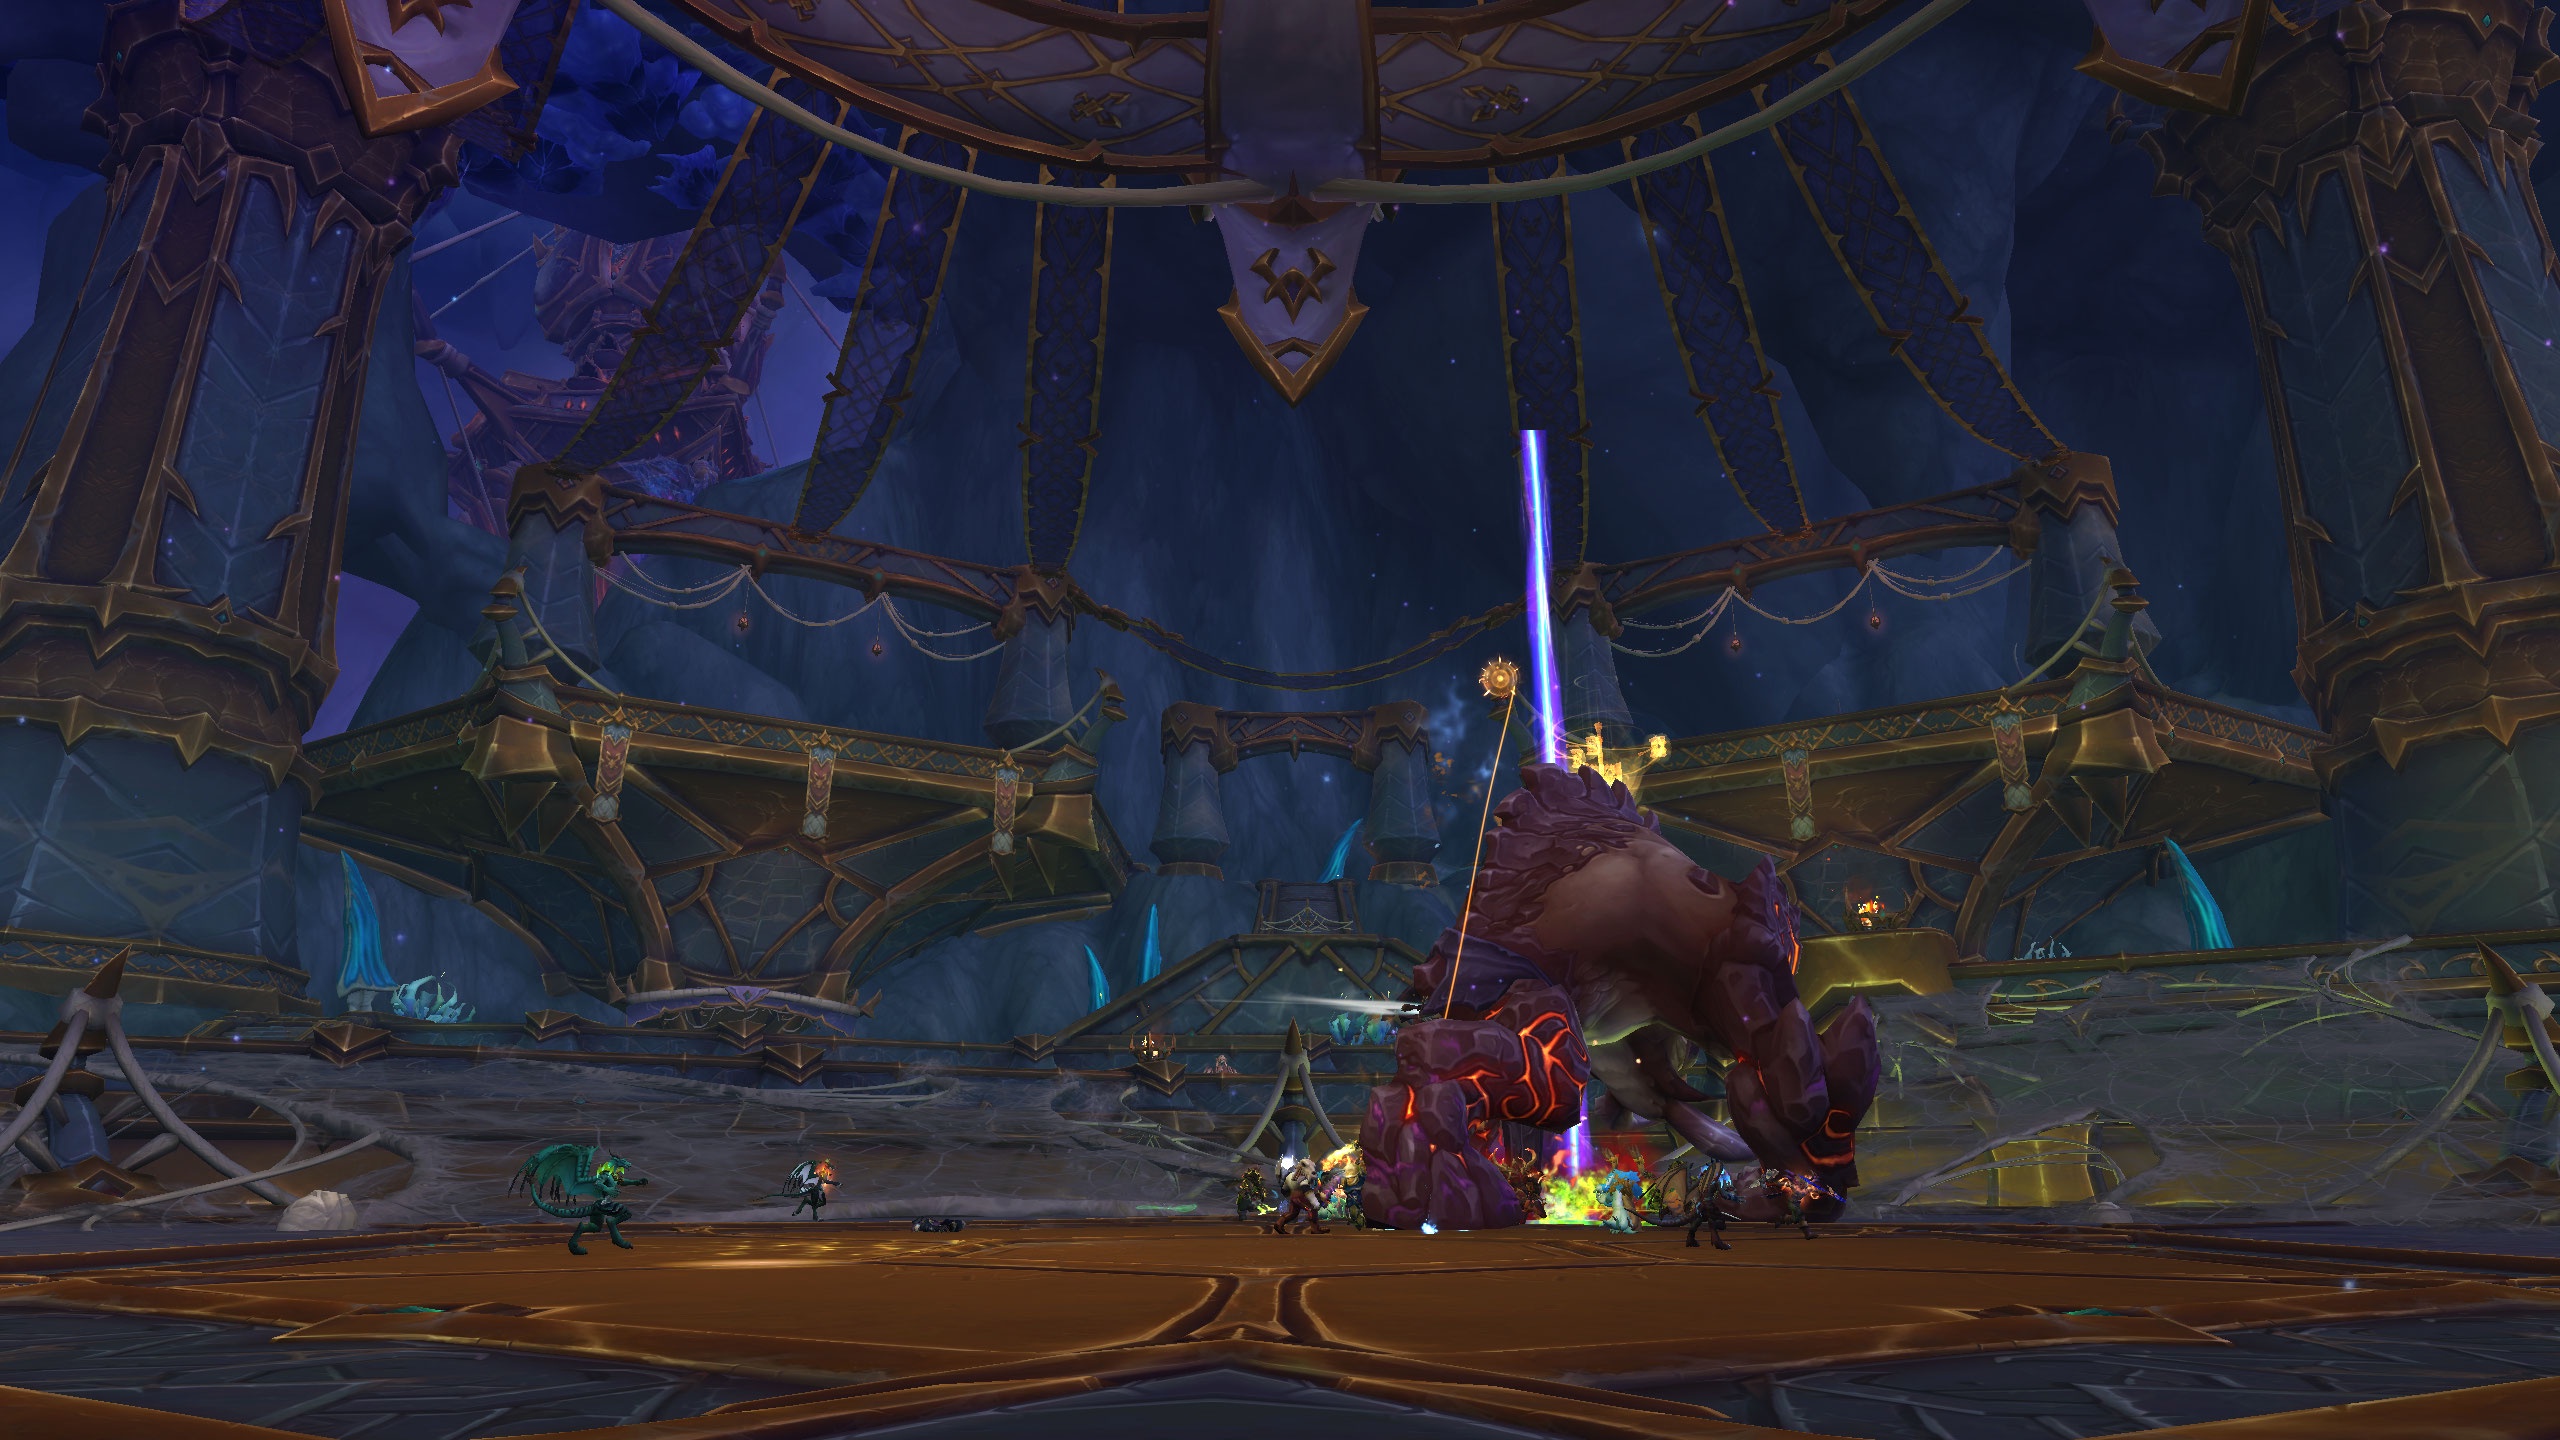
Encounter some of WoW Cataclysm Classic’s most enjoyable raids by tackling Magmaw’s Molten Fury, where coordination and skill are key, or face the dynamic Omnotron Defense System requiring constant adaptation. Battle Cho’gall for intense corruption management, or challenge Ragnaros’ fiery wrath with essential tank swaps. Al’Akir’s platform-based fight demands precise movements, while the Spine of Deathwing tests your reaction to escalating threats. Master these for rewarding loot and experience, and reveal further secrets behind each raid’s mechanics.
Key Takeaways
- Magmaw’s encounter demands individual skill and team coordination, offering a rewarding challenge without an enrage timer.
- The Omnotron Defense System requires constant adaptation and energy management, keeping the fight dynamic and engaging.
- Cho’gall’s encounter focuses on corruption management and precise execution, making it a strategic and challenging fight.
- Ragnaros’ multi-phase battle tests raid coordination and offers a thrilling and rewarding endgame experience.
- Al’Akir’s platform-based dynamics and elemental threats provide a unique and exciting challenge for raiders.
Magmaw’s Molten Fury
Magmaw’s encounter in WoW Cataclysm Classic, known as Magmaw’s Molten Fury, is a test of both individual skill and team coordination. You’ll face intricate Magmaw mechanics like Magma Spit, which targets players with fiery damage, and the Pillar of Flame, which knocks players airborne and spawns troublesome Lava Parasites. Stay alert, as these parasites can inflict Parasitic Infection, while Lava Spew coats everyone in ongoing fire damage. Raid coordination is essential, especially during the mounting phase after Massive Crash, to manage Magmaw’s Molten Tantrum by keeping melee players engaged. With no enrage timer to rush the encounter, players can focus on mastering the mechanics without the pressure of a time limit. Your team’s composition must balance melee and ranged roles, with healers ready to cover diverse stacks. Tanks need to handle Mangle and avoid Massive Crash’s lethal impact. During the Impale Phase, everyone should focus on maximizing DPS, using Constricting Chains wisely. Success demands precise teamwork, as overcoming Magmaw’s challenges rewards valuable loot and experience.
Omnotron Defense System’s Dynamic Duo
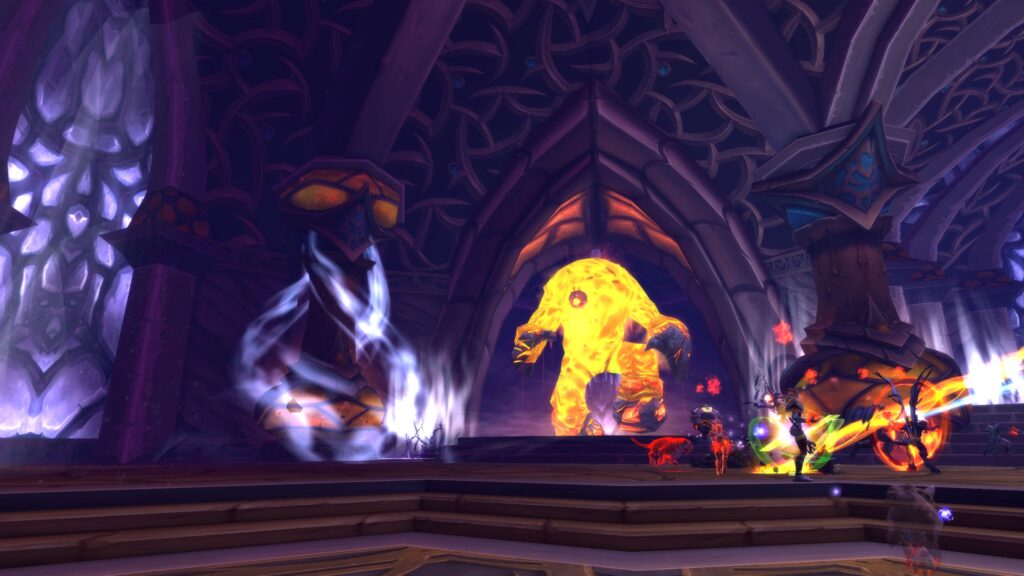
Having mastered Magmaw’s fiery onslaught, you now face the Omnotron Defense System, a formidable encounter that demands agility and strategic planning. This dynamic duo challenges you with four bosses—Arcanotron, Electron, Magmatron, and Toxitron—each contributing to a shared health pool. The boss mechanics require you to constantly adapt, as each boss brings unique abilities and environmental hazards. Energy management is essential, as bosses activate and deactivate based on energy levels, with shifts happening at specific energy thresholds. To tackle this encounter on Heroic difficulty, players must exhibit exceptional coordination and communication to handle the increased complexity and damage output.
To succeed, coordinate your raid’s strategy effectively. Assign tanks to manage threat during shifts, and guarantee DPS focuses on ideal phases, avoiding unnecessary movement. Healers must prepare for Electron’s intense AoE damage phases, while interrupters should prevent Arcanotron’s damaging casts. Always adapt to changes, managing abilities like Magmatron’s Flamethrower and Toxitron’s Poison Bombs, making sure your team remains agile and responsive throughout the encounter.
Cho’gall’s Chaotic Corruption
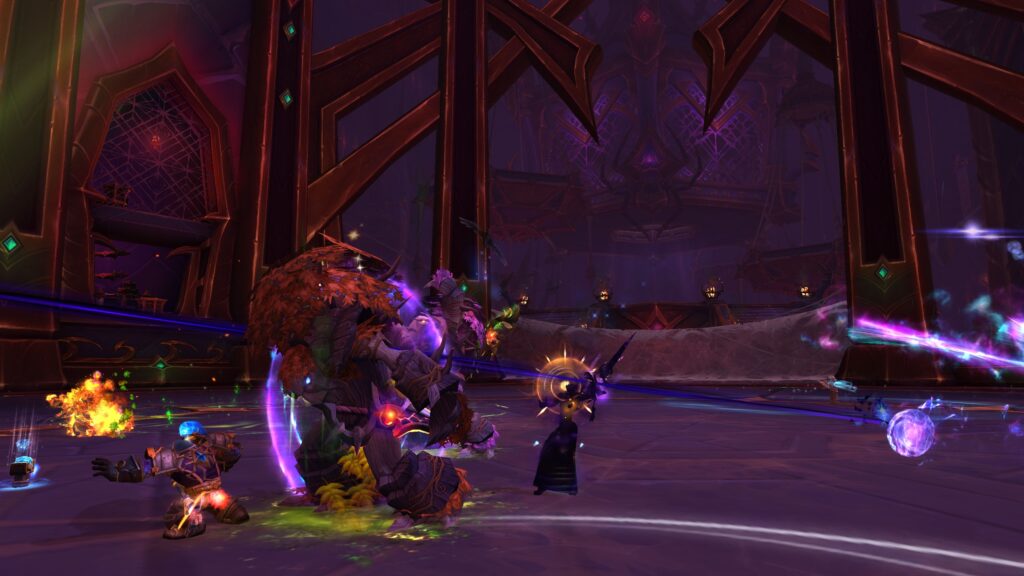
As you prepare to face Cho’gall’s chaotic corruption, coordination and understanding of the encounter’s mechanics are essential for success. Corruption management is a key aspect, as players need to keep their Corrupted Blood levels low to avoid debilitating effects. During the fight, you’ll encounter Corrupting Adherents and other adds, requiring efficient focus from DPS to prevent being overwhelmed. Tank swapping plays an important role, especially when dealing with Fury of Cho’gall, as it greatly increases damage taken. This strategic swap helps distribute damage evenly, ensuring the tanks’ survival. Interrupting abilities like Depravity and handling Corrupting Crash to minimize Corruption levels are critical. As the fight advances to phase two at 25% health, new challenges arise, demanding precise execution and adaptability from your raid group. Tanks must alternate every 1-2 stacks of Fury of Chogall to manage damage taken, ensuring that the raid’s resilience is maintained. Achievements like “The Abyss Will Gaze Back Into You” add an extra layer of challenge, testing your raid’s ability to maintain low Corruption levels.
Conclave of Wind’s Aerial Acrobatics
After mastering Cho’gall’s chaotic forces, you shift your focus to the Conclave of Wind‘s aerial acrobatics, an encounter set high above Uldum in the Throne of the Four Winds. Here, you’ll face Anshal, Rohash, and Nezir, each representing a different wind direction. The fight demands a precise aerial strategy, requiring your raid to efficiently utilize wind mechanics across multiple platforms to defeat all three bosses within a short time frame.
- Platform Management: Split your raid across the three platforms, ensuring tanks, healers, and DPS are positioned effectively.
- Wind Energy: Monitor the Wind Energy system closely, as each boss releases powerful ultimate abilities every 90 seconds. Tokens obtained from bosses like the Conclave of Wind can help you purchase tier 12 set pieces from class vendors, enhancing your raid’s performance.
- Communication: Maintain vocal communication to coordinate platform swaps and manage boss health evenly.
This encounter offers a unique challenge, with its dynamic movement and coordination, making it a memorable part of your raiding journey.
Ragnaros’ Fiery Wrath
Ragnaros’ Fiery Wrath in the Firelands raid presents a formidable challenge that tests the limits of your raid team’s coordination and execution. As the final boss, Ragnaros embodies the fiery essence of his lore, set against the striking Firelands aesthetics. The encounter is challenging, featuring three main phases and intermissions, with a fourth phase on heroic difficulty. You must manage key mechanics like Wrath of Ragnaros, which knocks back and damages players, and Magma Blast, punishing those not in melee range.
Tanks need to swap every 3-5 stacks of Burning Wound and maintain proximity to Ragnaros. Healers should brace for a mana-intensive fight, using raid-wide cooldowns during pivotal moments. DPS players must react swiftly to Son of Flames during intermissions, prioritizing movement and positioning. Ranged DPS, particularly, should stay 55 yards away to avoid Hand of Ragnaros, ensuring successful navigation of this intense encounter.
Beth’tilac’s Web of Intrigue

Beth’tilac’s Web of Intrigue presents a complex and engaging encounter within the Firelands raid, requiring precise coordination and execution from your raid team. As the queen of the Cinderweb Spiders, Beth’tilac’s spider mechanics push your team to manage two phases effectively. In Phase 1, you’ll need to split roles: some members climb the web via Cinderweb Spinner webs to damage Beth’tilac directly, while others handle adds below, including Cinderweb Spinners, Drones, and Spiderlings.
Phase 2 introduces a frenzied Beth’tilac, demanding a solid raid strategy to manage increased damage and healing requirements. Focus shifts to preventing Beth’tilac from consuming spiderlings, which would heal her. You’ll need keen attention to tank swapping due to The Widow’s Kiss debuff.
Key Strategies:
- Role Assignments: Balance between web climbers and add controllers.
- Add Management: Prioritize Spiderlings and Drones.
- Cooldown Usage: Reserve for Phase 2 burst damage.
Spine of Deathwing’s Intense Escalation
As your raid team navigates the challenges of Beth’tilac’s intricate web, you now face the formidable task of tackling the Spine of Deathwing, a unique encounter in World of Warcraft: Cataclysm Classic. This intense single-phase fight takes place on Deathwing’s back, requiring precise add management techniques and an effective armor plate strategy. You’ll need to manage Corrupted Bloods and Hideous Amalgamations, utilizing Nuclear Blasts to weaken armor plates. The goal is to expose and destroy the Burning Tendons before they reattach the armor.
| Key Elements | Strategy Focus | Role Responsibilities |
|---|---|---|
| Armor Plate Removal | Weaken with Nuclear Blast | DPS on Burning Tendons |
| Add Management | Control Corrupted Bloods | Tanks manage adds |
| Barrel Roll | Trigger by stacking | Healers keep raid safe |
The challenge escalates with each plate removed, testing your coordination and communication as you aim for victory.
Al’Akir’s Stormy Showdown
In Al’Akir’s Stormy Showdown, you’re tasked with mastering platform-based battle dynamics, which require precise movement and coordination to navigate the shifting winds and avoid deadly cyclones. The encounter challenges you to manage elemental threats like Lightning Strike and Acid Rain, demanding quick reflexes and strategic positioning from your raid group. Successfully coordinating through the chaotic elements and maintaining focus during aerial combat phases makes this encounter both challenging and rewarding.
Platform-Based Battle Dynamics
Platform-based battle dynamics in Al’Akir’s encounter require precise positioning and strategic movement to secure your raid’s success. Effective raid coordination is essential to manage the environmental hazards that abound on the platform. You’ll need to position your raid members in well-defined groups to mitigate the effects of abilities like Lightning Strike and navigate through gaps in the Squall Line to avoid damage. Here are three critical tactics:
- Raid Positioning: Divide members into groups to minimize Squall Line overlap and dodge Wind Burst knockbacks.
- Squall Line Navigation: Identify and move through gaps to prevent getting hit by cyclones.
- Ability Timing: Coordinate movements during Wind Burst’s cast time and manage Ice Storm’s frost zones effectively.
These dynamics secure your raid’s success against Al’Akir.
Managing Elemental Challenges
When facing Al’Akir’s stormy showdown, managing elemental challenges becomes crucial to your raid’s success. You must employ precise elemental positioning strategies to navigate Squall Lines and Ice Storms, essential for minimizing damage. In Phase 1, avoid Lightning Strike and manage chaotic Air Elementals to prevent unnecessary raid pressure. Swiftly handle Stormlings and utilize raid debuff management to deal with Shock Charges and Acid Rain, distributing them evenly to control damage intake. During Wind Burst, maintain tactical movements to avoid knockbacks, ensuring your group remains ideally positioned. As the encounter progresses, adjust strategies for phase changes and efficiently manage adds, maximizing DPS output. Employing defensive cooldowns strategically helps mitigate incoming damage, making your raid’s victory achievable.
Frequently Asked Questions
How Do Environmental Hazards Impact Raid Strategies in These Encounters?
You’ll find that environmental effects greatly shape your raid strategies in these encounters. Hazard management is vital as you navigate through electrical discharges, chemical concoctions, and toxic spills. You must carefully plan movements to counter mechanical hazards like spinning blades, while avoiding pitfalls such as volcanic eruptions and lava waves. Coordinating with your team to manage these threats while maintaining ideal performance is essential to successfully overcoming each raid’s unique challenges.
Are There Any Hidden Achievements Related to These Raid Encounters?
You can discover hidden secrets in Cataclysm raids, revealing achievement rewards that showcase your skill. Blackwing Descent challenges you to defeat Nefarian without succumbing to his adds, emphasizing precise coordination. In the Bastion of Twilight, conquer Cho’gall without corruption, requiring strategic healing. Throne of the Four Winds offers an achievement for keeping your team on-platform against Al’Akir, while Firelands tests your timing against Ragnaros’s hammer attack.
Which Encounters Are Considered the Most Challenging for New Players?
Tackling raid encounters in WoW Cataclysm Classic is like maneuvering through a maze of mechanics and beginner strategies. New players often find Nefarian and Sinestra particularly challenging due to precise coordination and complex encounter mechanics. Nefarian’s electrical discharges and Sinestra’s healing demands can overwhelm, while Magmaw’s phases require sharp attention to detail. To succeed, you must focus on understanding each mechanic, practice your timing, and guarantee your team communicates effectively throughout the fight.
What Role Does Player Mobility Play in These Encounters?
In these encounters, your mobility is vital for effective player positioning, directly impacting encounter pacing. Quick, precise movements allow you to dodge environmental hazards and AoE attacks, while maintaining ideal DPS or healing positions. Efficient mobility guarantees that you can adapt to dynamic situations, align with strategic plans, and prevent group wipes. Mastering movement techniques enhances coordination and teamwork, which are essential for successfully traversing complex raid mechanics.
How Do Tier Set Bonuses Affect Performance in These Raids?
Like a well-oiled machine, tier set bonuses enhance your raid performance by providing set bonus synergy, allowing you to optimize your character’s abilities. These bonuses amplify your class-specific skills, making them more potent and efficient, which is vital for performance optimization. Acquiring tier sets boosts your stats considerably, improving overall effectiveness in raids. You must adapt your playstyle to maximize these bonuses, ensuring your role in the raid is executed flawlessly.
Conclusion
In World of Warcraft: Cataclysm Classic, each raid encounter offers a unique challenge, from Magmaw’s molten fury to Al’Akir’s stormy showdown. You’ll face intricate mechanics, requiring teamwork and strategy to overcome these formidable foes. What makes these encounters so memorable? It’s the blend of tactical execution and coordination that tests your skills and resilience. Whether it’s maneuvering through Beth’tilac’s web or surviving Spine of Deathwing’s escalation, these raids provide thrilling and rewarding experiences for dedicated adventurers.

Leave a Reply